

The routine that solves nearly every ATV cleaning problem is simple: pre-rinse the mud, hit the drivetrain with degreaser, foam and let it dwell, scrub the stubborn spots, rinse carefully, then dry and protect. Do a quick version after every wet or dusty ride. Run the full deep-clean version once a month. Two things matter more than the rest: plug the exhaust before any water touches the machine, and avoid directing water pressure at seals, bearings, or electrical connectors.
TL;DR:
- Always pre-rinse the ATV from top to bottom before scrubbing to prevent scratches and avoid forcing water into seals or electrical components.
- Use moderate pressure, keep the nozzle at least 12 to 18 inches away, and prefer a fan nozzle to avoid damaging seals or bearings.
- Separate cleaning products for plastics and metals, and avoid caustic degreasers on plastics to prevent dulling or fading finishes.
- Blow out water from recessed areas after rinsing, and apply protectants like silicone or corrosion inhibitors to extend the ATV’s lifespan.
- Regularly check for leaks, loose fasteners, and damaged hoses after cleaning, especially if riding through mud or water, to catch problems early.
Table of Contents
- Tools and Supplies You Need for ATV Cleaning
- How Do You Wash an ATV Step by Step?
- Is It Safe to Use a Pressure Washer on an ATV?
- Cleaning Specific Parts Without Damaging Them
- Drying and Protecting Your ATV After a Wash
- What to Check After You Clean Your ATV
- What the Shop Sees After Hundreds of Washes
- Why a Cleaning Habit Pays Off
- Where to Get Dealer-Vetted Cleaning Gear and Parts
- Where to Find More on ATV Cleaning and Care
- Sources
Tools and Supplies You Need for ATV Cleaning
You don’t need a shop full of gear, but showing up with the wrong products is how plastics get dull and aluminum gets pitted. Grab these before you start:
- pH-neutral ATV soap for plastics and painted surfaces (dish soap and household degreasers strip UV coatings over time)
- Heavy-duty degreaser for the engine, drivetrain, and aluminum components, which can handle chemicals that plastic can’t
- Foam cannon or a two-bucket wash setup with wash mitts
- Soft-bristle brushes and a plastic scraper for wheel wells and caked mud
- Microfiber towels, several, because one gets filthy fast
- Leaf blower or compressed air for blasting water out of recessed bolts and vents
- Muffler plug with a visible tag or flag so you don’t forget it’s in before you start the engine
- Gloves and eye protection, especially when working with degreaser
The plastics-versus-metal split matters here. Degreasers are formulated to cut through grease and grime on metal, but that same chemical strength can dull plastic finishes and fade color over repeated use. Keep the two products separate and you’ll avoid replacing body panels years before you needed to. Most of this gear is available at auto parts stores, farm supply retailers, or online through powersports specialty shops.
How Do You Wash an ATV Step by Step?
This is the routine, broken into the order that actually prevents damage instead of just moving dirt around.
- Cool the engine and park on level ground. Never wash a hot engine block; thermal shock can crack components.
- Plug the exhaust and tag it. A rag or dedicated muffler plug keeps water out of the muffler, and the visible reminder stops you from starting the engine with it still in place.
- Pre-rinse from the top down. A low-pressure pre-soak loosens caked mud before it gets ground into paint or forced into seals during scrubbing.
- Apply degreaser to the drivetrain, skid plates, and heavily soiled metal. Let it sit, don’t spray plastics with it.
- Foam the rest of the machine with pH-neutral soap. Let it dwell for two to three minutes so it lifts dirt instead of just wetting it.
- Hand-wash top to bottom with a wash mitt, working in sections so nothing dries before you rinse it.
- Scrub stubborn spots with a soft brush or plastic scraper. Wheel wells, footwells, and around the seat base collect the worst of it.
- Rinse carefully, staying gentle around bearings, chain links, and electrical connectors.
- Blow out trapped water from bolt heads, vents, and body seams with a leaf blower or compressed air.
- Wipe down with microfiber towels for the final dry.
The most common mistake is skipping the pre-rinse and going straight to scrubbing. Grit gets dragged across the plastic like sandpaper, and you end up with fine scratches that show up under sunlight six months later. The second most common mistake is forgetting the exhaust plug until after the engine’s already running rough from water ingestion.
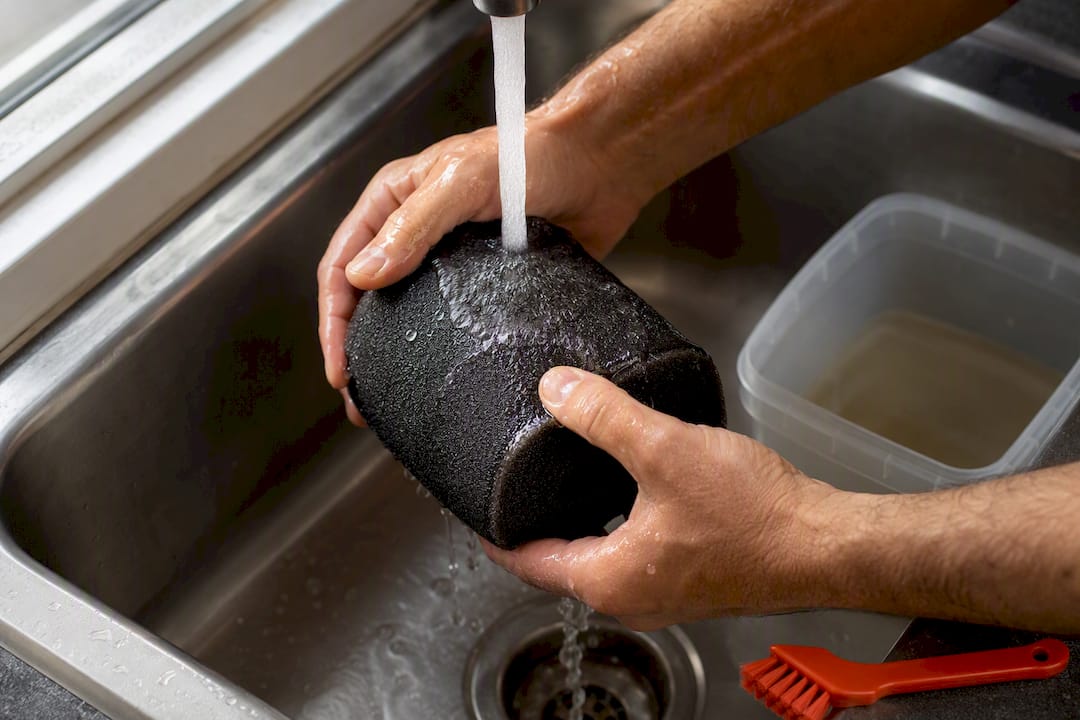
If you’re doing the monthly deep clean rather than a quick post-ride rinse, this is also the point to pull the air filter and inspect it. Foam filters need a wash and re-oil; paper filters generally need replacement rather than cleaning once they’re saturated with fine dust.
Pro Tip: Work in the shade if you can. Direct sun dries soap onto plastic before you can rinse it, leaving streaky residue that takes a second pass to remove.
Is It Safe to Use a Pressure Washer on an ATV?
Yes, with limits. Most riders overdo the pressure setting, and that’s what turns a routine wash into an expensive seal or bearing replacement.
Keep pressure moderate and rarely exceed 1,500 PSI, holding the nozzle at least 12 to 18 inches from sensitive components like wheel bearings, U-joints, and the chain. A wide fan-pattern nozzle spreads the force out and is far safer than a narrow jet tip, which concentrates enough pressure to force water past seals that were never designed to handle a direct blast.
- Use a fan nozzle rather than a narrow jet for anything near seals or bearings
- Switch to a garden hose or low-pressure rinse for radiator fins, decals, and stickers
- Skip the pressure washer entirely on a machine with older seals or recent repairs, where a fresh gasket hasn’t cured yet
- Run a foam cannon at low pressure for the soap stage; you want coverage, not force
A useful visual: run the nozzle across radiator fins and decals in one smooth pass, angled slightly away rather than dead-on, the same way you’d rinse a car’s grille without bending the louvers. Direct, static pressure on a decal edge is how you end up peeling it off entirely.
Cleaning Specific Parts Without Damaging Them
Different parts of the ATV need different chemistry, and mixing that up is where most DIY cleaning jobs go wrong.
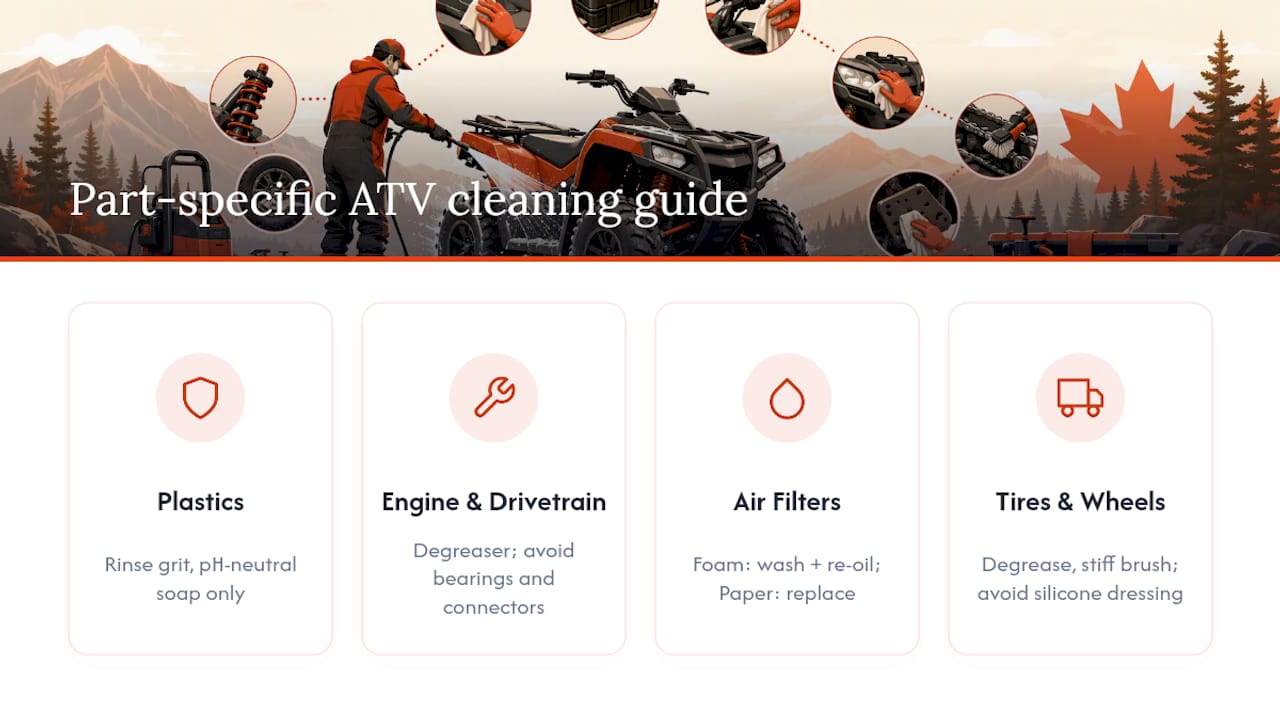
Plastics should only see pH-neutral soap and a soft mitt after the grit is rinsed away. Caustic degreasers dull the finish over repeated washes, and if the plastic already looks chalky, a dedicated plastic restorer brings back some depth without the abrasion of polishing.
Engine and drivetrain components can take degreaser, but keep water and chemical spray away from bearings and electrical connectors. The exhaust plug matters here more than anywhere else on the machine.
Air filters split into two camps: foam filters get washed with filter cleaner and re-oiled before reinstalling, while paper filters are generally a replace-don’t-clean item once they’re dirty enough to need attention.
Tires and wheels respond well to degreaser and a stiff brush worked into the tread. Skip silicone tire dressings if you’re riding again soon. They look good in the driveway but attract dust and dirt almost immediately on the trail.
Pro Tip: When you get to suspension pivots, brush out the grit first, then re-grease with a medium-viscosity chassis grease. The fresh grease pushes out any residual moisture instead of trapping it against the metal.
Drying and Protecting Your ATV After a Wash
A clean ATV that dries wrong rusts faster than a dirty one that never gets washed. Water sitting in bolt heads and wiring harnesses causes hidden corrosion long before you’ll notice a problem on the surface.
Blow out every recessed area with a leaf blower or compressed air first, then follow with a microfiber wipe on anything still damp. This two-step approach displaces moisture from spots a towel alone can’t reach.
- Silicone protectant on plastics restores shine and creates a surface mud slides off more easily next time
- Corrosion inhibitor spray on the frame and exposed metal, reapplied every few washes depending on riding conditions
- Dielectric grease on exposed electrical connectors, which seals out moisture without conducting current
Get in the habit of this and every future wash gets faster. A hydrophobic layer on plastic means less scrubbing next time, not just a better shine today.
What to Check After You Clean Your ATV
Cleaning strips away the dirt that’s been hiding small problems, so treat every wash as a mini-inspection.
- Check for leaks around the engine case and shocks now that everything is visibly clean.
- Look for loose fasteners, especially on skid plates and body panels that vibrate loose over rough terrain.
- Inspect hoses and cables for cracking or fraying you couldn’t see under the grime.
- Test pivot points for stiffness, a sign grit got into the joint before you cleaned it.
- Check the radiator for blockage from mud or debris packed into the fins.
If you rode through deep mud or standing water, re-lube the chain, pivot points, and drivetrain immediately rather than waiting for the next scheduled service. Riding intensity should set your maintenance pace, not the calendar. If you find a leak, a cracked hose, or anything beyond a torque check, that’s a dealer service visit, not a driveway fix.
What the Shop Sees After Hundreds of Washes
At Dirtybirdypowersports, that final torque check happens after every drying step, not before, since a machine that’s still damp can hide a fastener that hasn’t fully seated. For readers prepping a machine for the off-season, our winter storage guide covers the cleaning steps that matter most before a machine sits for months.
Why a Cleaning Habit Pays Off
Riders who wash after every muddy trip catch small problems, a loose bolt, a cracking hose, months before they become expensive ones. If a wash reveals something you can’t fix yourself, get it in front of a dealer technician before your next ride.
— Dirty
Where to Get Dealer-Vetted Cleaning Gear and Parts
Auto parts stores carry generic degreasers and towels, but if you’d rather buy gear vetted for your specific machine, Dirtybirdypowersports stocks the accessories that actually fit CFMOTO ATVs and UTVs, backed by a team that rides what it sells.

A dust mask matters more than most riders think when you’re working with degreaser spray in an enclosed garage, and the TEK Pro Series dust mask is one of the accessories we keep in stock for exactly that reason. If your tires took a beating from a muddy season and you’re due for a replacement rather than another scrub, the Braven Hellhound Uber XOR radials are worth a look, sold at MSRP with no markup added on top. There are plenty of places to buy generic cleaning supplies, but when it’s time for parts that need to actually fit your machine correctly, check current inventory or reach out for a quote, and we’ll help you find what fits.
Where to Find More on ATV Cleaning and Care
- Atvconnection
- Atv
- ATV Maintenance Schedule and Intensity-Based Cleaning – Offroading.com
- PPF Maintenance: Keep Your Film Clear and Protected