

Follow your owner’s manual, vary engine speed throughout every ride, and get that first oil and filter change done at the mileage your manufacturer specifies. That is the short version. Here is the checklist you can use starting today:
- Warm up first. Let the engine idle for 2–3 minutes before riding, especially in cold weather.
- Vary your RPMs constantly. Accelerate, back off, shift up, shift down. Never hold a steady throttle for miles at a time.
- Stay off wide-open throttle. Limit sustained throttle to roughly three-quarters during the first few hundred miles.
- Note your first-service mileage. Write it on a sticky note, set a phone reminder, whatever works.
- Schedule the dealer first service now. Book it before you need it, not after.
Your owner’s manual is the final authority on model-specific RPM limits and service intervals. Everything below expands on why these steps matter and exactly how to execute them.
Table of Contents
- How long does the motorcycle break-in period last?
- What should you actually do while riding during break-in?
- Why does the early oil change matter so much?
- Why should you trust the manufacturer’s instructions over forum advice?
- Key Takeaways
- A straight take from the Dirty Birdy team
- Useful sources and manuals to bookmark
How long does the motorcycle break-in period last?
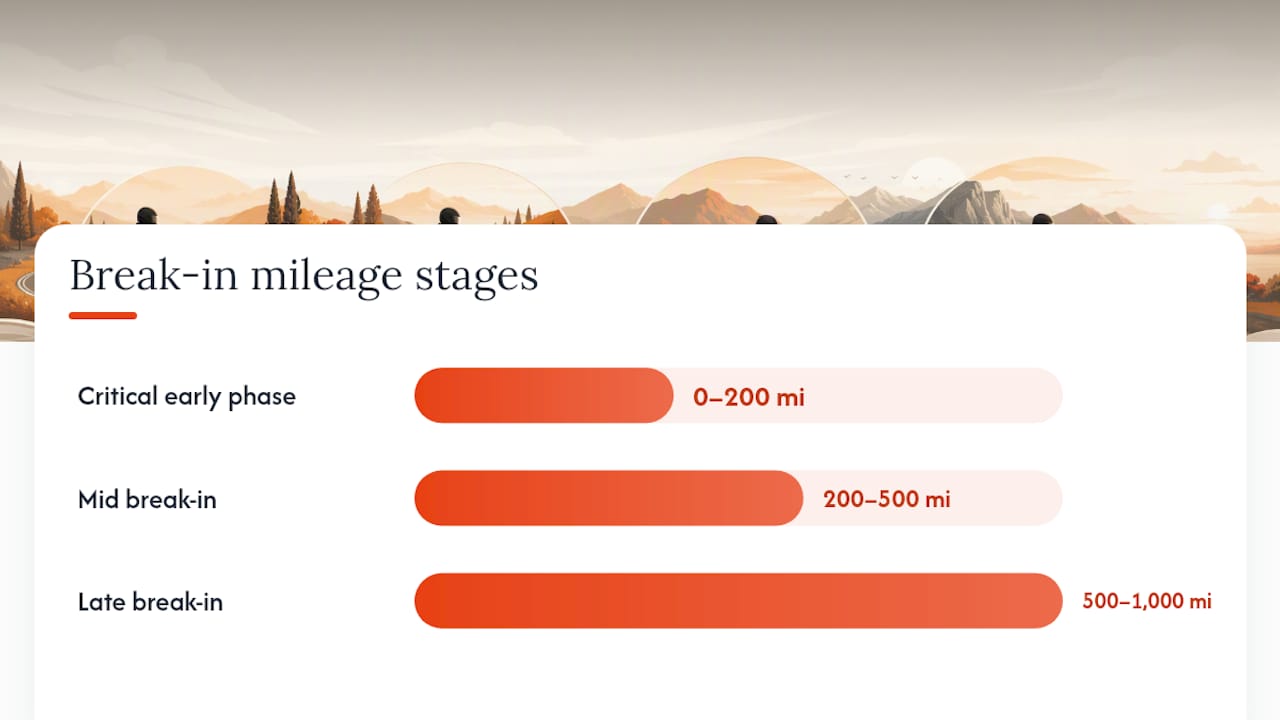
The typical break-in range is 500–1,000 miles, but the most critical window is the first 200 miles. That early stretch is when piston rings seat against the cylinder walls, bearings bed in, and metal surfaces find their final fit. What you do in those first two hundred miles has a disproportionate effect on how the engine performs for the next 50,000.
Most manufacturers divide the break-in into stages, each with its own throttle and RPM guidance. The numbers vary by model, which is exactly why the owner’s manual governs.
| Stage | Typical Mileage Range | Key Restriction |
|---|---|---|
| Critical early phase | 200 miles | Gentlest throttle, maximum RPM variation |
| Mid break-in | 200–500 miles | Gradual throttle increase, still no sustained WOT |
| Late break-in | 500–1,000 miles | Near-normal riding; first oil/filter service due |
| Post break-in | 1,000+ miles | Full operating range per owner’s manual |
When your manual’s numbers differ from anything you read online, the manual wins. A Kawasaki Z650 and a Honda CB500F share a displacement class but not an engine design, and their break-in specs reflect that.
What should you actually do while riding during break-in?
Vary engine speed, limit sustained throttle, avoid lugging, and manage warm-up and cool-down cycles. Those four rules cover most of what you need to know. Here is how they translate into real riding behavior.
What to do:
- Warm the engine for 2–3 minutes at idle before each ride. Cold metal has tighter tolerances; give it a moment.
- Shift through the gears regularly. Moving up and down the rev range is exactly what helps rings seat properly.
- Use engine braking. Rolling off the throttle and letting the engine slow the bike puts useful, varied load on the drivetrain.
- Mix your riding conditions. City streets with stop-and-go traffic are actually good during break-in because they force constant RPM changes.
- Check chain tension every 200–300 miles. New chains stretch noticeably during the first few hundred miles, and a loose chain is a safety issue.
- Let the engine cool between rides when you can. Short heat cycles, where the engine comes up to temperature and then cools down completely, help components settle.
What to avoid:
- Sustained highway cruising at a constant RPM. Sixty miles of steady 4,000 RPM is the opposite of what you want.
- Wide-open throttle runs, especially before 500 miles.
- Lugging the engine. Riding in too high a gear at too low a speed puts excessive load on bearings before they have fully seated.
- Repeated hard launches or aggressive braking from speed. Save that for after the break-in.
Pro Tip: Plan your first few rides as short loops of 30–45 minutes rather than one long highway trip. Each loop is a heat cycle: the engine warms up, works under varied load, and then cools. Three short rides do more for ring seating than one three-hour cruise.
Why does the early oil change matter so much?
Manufacturers schedule the first oil and filter change at around 500–600 miles specifically to flush out microscopic metal particles. As new components wear against each other, they shed tiny fragments of metal. These particles are too small to see and too small to feel, but they are abrasive. Even when the oil looks clean on the dipstick, it is carrying debris that will accelerate wear if left in the engine.
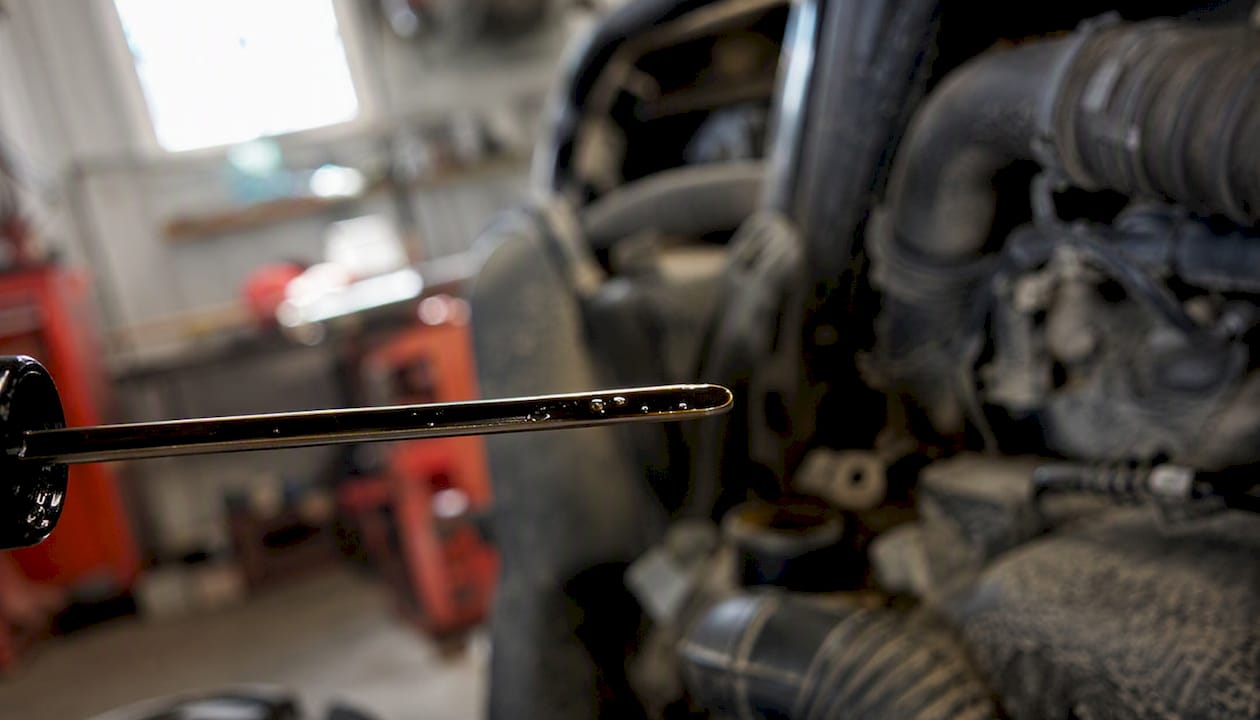
Missing this service is one of the most common and most consequential mistakes new owners make.
| Service Item | Why It Matters During Break-In |
|---|---|
| Oil and filter change | Removes metal debris from initial component wear |
| Fastener torque check | New bikes settle; bolts can loosen in the first miles |
| Chain tension adjustment | New chains stretch significantly in the first 500 miles |
| Brake inspection | Pads and rotors bed in; initial wear needs checking |
| Valve clearance check | Some engines require inspection after initial heat cycles |
First-service callout: Indian Motorcycle’s published break-in guidance requires dealer break-in maintenance at 500 miles as a formal step in the break-in procedure, not an optional add-on. Most major OEMs take the same position.
Budget for this service when you buy the bike. Dealer first-service pricing varies by brand and region, but treating it as part of the purchase cost is the right mindset.
Why should you trust the manufacturer’s instructions over forum advice?
OEM manuals specify staged RPM and throttle limits based on engineered dyno and durability testing for each specific engine platform. These are not arbitrary numbers carried forward from the 1970s. Engineers run the engine through thousands of test cycles, measure ring seating rates, and set the limits based on what actually protects that engine’s components.
Different engines need different break-in procedures because they are built differently. Piston ring material, bore finish, bearing clearances, and lubrication system design all affect how long and how carefully a new engine needs to be treated. A single universal rule cannot cover all of them, which is why your manual’s numbers are specific to your bike.
There is also a practical reason to follow OEM guidance: warranty. If an engine fails and the service history shows the first oil change happened at 3,000 miles instead of 600, that is a conversation you do not want to have with a warranty department.
Key Takeaways
Proper break-in requires following OEM stage limits, varying engine speed constantly, and completing the early oil change at around 500–600 miles to protect long-term engine health.
| Point | Details |
|---|---|
| Follow the owner’s manual | Model-specific RPM and throttle limits are based on engineering data, not guesswork. |
| First 200 miles are critical | Piston ring seating happens primarily in this window; vary RPM and avoid sustained throttle. |
| Early oil change at 500–600 miles | Flushes microscopic metal debris before it causes accelerated wear, as most manufacturers schedule this service at around 500–600 miles to remove debris from initial component wear. |
| Avoid extremes in both directions | Neither hard riding nor ultra-gentle riding produces correct ring seating. |
| Book dealer first service early | Technician inspection catches torque, valve, and leak issues a home check will miss. |
Log your delivery mileage the day you take ownership and set a reminder for your first service interval. Missing it by even a few hundred miles matters during break-in.
A straight take from the Dirty Birdy team
Most new owners either overthink the break-in or ignore it entirely. The ones who overthink it spend the first thousand miles terrified to accelerate past 3,000 RPM. The ones who ignore it are on the highway at full throttle by day two.
Neither approach is right. The break-in procedure exists because metal components need time and varied load to find their final fit. That process cannot be rushed, and it cannot be skipped. But it also does not require white-knuckle caution on every ride. Ride normally, vary your speed, stay off the peg for a few hundred miles, and get the oil changed when the manual says to.
One thing worth saying plainly: the forum advice that tells you to “ride it like you stole it” from mile one is not based on engineering data. It is based on anecdote. The manufacturer’s procedure is based on testing. Trust the testing.
If you are picking up a new CFMOTO or any other machine and want to talk through the break-in procedure for your specific model, the team at Dirtybirdypowersports is worth a call. After the break-in is done and you are ready to think about performance tuning, dyno session preparation is a logical next step for riders who want to know exactly what their engine is making.
Useful sources and manuals to bookmark
Every model-specific RPM cap, throttle limit, and service interval lives in one place: your owner’s manual. Download the PDF version from your manufacturer’s website and keep it accessible.
- Motorcycle Break-In Period: How to Break In a New Bike | MotoVault
- The Proper Procedure for Breaking-in Your Motorcycle
- Indian Motorcycle Break-In
- Engine Break-In - Polaris Online Publication Portal
- Busting The Motorcycle Engine Break-In Myth | Motorcyclist
Record your delivery odometer reading the day you take ownership. That number is your baseline for every service interval. For riders who want to gear up while the break-in miles accumulate, Dirtybirdypowersports carries ATV and UTV accessories, including tires, mirrors, and protective gear suited to new machine owners.
| Resource | Best Used For |
|---|---|
| Owner’s manual | Model-specific RPM limits, oil type, service intervals |
| OEM website | Manual downloads, warranty registration, dealer locator |
| Dealer first service | Torque checks, valve inspection, documented service record |
| MotoVault / Bell Performance guides | General break-in principles and heat cycle guidance |
Recommended
- Cage Option: Front Intrusion Bars Lo-Brow RZR XP (2-Seat) – Dirty Birdy Powersports
- Cage Option: Front Intrusion Bars Lo-Brow RZR PRO R (2-Seat) – Dirty Birdy Powersports
- ATV-UTV TEK Wedgelock FlexGrip Pro - Double - Polaris ATV/UTV Lock & R – Dirty Birdy Powersports
- Cage Option: Rear Intrusion Bars RZR XP (2-Seat) – Dirty Birdy Powersports