

Anchor four straps to your ATV’s structural frame or manufacturer-designated recovery points, never to plastic racks, handlebars, or winch hooks. Aim for a combined strap rating well above your machine’s weight, then use rated ratchet straps with soft loops at each corner. Get those two things right and everything else in this guide is refinement.
TL;DR:
- Attach straps only to sturdy, welded steel frame points or reinforced aftermarket anchors, avoiding plastic racks, handlebars, or fragile components.
- Keep strap angles near 45 degrees and use diagonal X-patterns to maximize restraint and prevent lateral movement during transport.
- Recheck strap tension and positioning after the first 5 to 10 miles to account for settling and vibration loosening hardware.
- Avoid common mistakes such as low-angle straps, under- or over-tightening, and hooking to weak or temperature-sensitive parts, which compromise load security.
Table of Contents
- Where Are the Safe ATV Tie Down Points?
- How Many Straps and What Strength Do You Need?
- Why Does Strap Angle Matter So Much?
- What Equipment Do You Actually Need?
- How Do You Secure an ATV for Transport, Step by Step?
- What Mistakes Wreck an Otherwise Good Tie-Down Job?
- Dirty Birdy Powersports’ Take on Getting This Right
- Where This Advice Comes From
- Sources
Where Are the Safe ATV Tie Down Points?
The main frame rails are your best friends here. They’re the thick, welded steel tubes running the length of the machine, built to take load in every direction, including the sideways yank a strap puts on them during a highway lane change. Most ATVs also have dedicated tow or recovery points stamped right into the frame near the front bumper and rear cargo rack mounts. Those are designed for exactly this job.
What you want to avoid is just as important as what you want to use.
- Plastic fender flares, racks, and body panels, which crack or snap under tension
- Handlebars and steering components, which can bend or throw off alignment
- Brake lines, cables, and exhaust pipes, all of which are either fragile or hot enough to melt webbing
- Winch hooks, which aren’t rated for the dynamic loads of transport
Here’s the catch a lot of first-time haulers miss: not every factory loop is built for the highway. Some are stamped sheet metal meant for gentle showroom repositioning, not 70 mph interstate vibration, and they can bend or tear loose under real transport stress. If your ATV’s factory points feel thin or flimsy, a bolt-on forged-steel anchor kit mounted to a thick frame section is a smarter long-term fix than trusting a marginal loop.
Pro Tip: Always run a soft loop around the frame before hooking your ratchet strap to it. It spreads the load across more surface area and keeps the strap’s hook from chewing into paint or powder coat.
How Many Straps and What Strength Do You Need?
Four straps, two up front and two in back, is the accepted standard for a reason: it controls forward motion, rearward motion, and side-to-side sway all at once. Drop to two straps and you leave the ATV free to rock or twist the moment the trailer hits a pothole or crosswind.
For strength, the working number to know is Working Load Limit, or WLL, which is the certified safe capacity for regular use. It’s a different figure from breaking strength, which is the point of failure and not something you should ever plan around.
A four-point tie-down system with a combined WLL over 6,000 pounds is the recommended setup for a typical 600-pound ATV, giving roughly a 10:1 safety margin over the vehicle’s own weight.
- Check the WLL tag sewn into the webbing near the hook, not the packaging
- Add up all four straps’ WLL ratings, then compare that total against your ATV’s actual curb weight
- When in doubt, size up. Highway vibration and sudden stops load straps well beyond a stationary weigh-in
Experienced haulers often build in extra margin beyond the bare minimum specifically because road forces are unpredictable, and that habit costs almost nothing at checkout.
Why Does Strap Angle Matter So Much?
A strap pulled at a steep, near-vertical angle does far more work than the same strap pulled nearly flat. This is the “angle effect,” and it explains why two straps at a good angle can outperform four straps stretched at a shallow one. As the angle away from vertical increases, clamping force drops fast, and you need more lashings or heavier-rated gear just to make up the difference.
Aim for something close to 45 degrees between the strap and the deck whenever your anchor points allow it. Pairing that with an X, or diagonal, pattern front to back triangulates around the ATV’s center of gravity, which is what actually stops it from sliding or tipping in a hard brake.
- If your trailer or truck bed forces a flat angle, switch to longer straps run to a farther anchor point
- Bed extenders or dunnage (blocks or platforms under the tires) can raise the load enough to steepen the angle
- Never accept a strap angle under roughly 30 degrees. At that point you’re barely restraining sideways movement at all
Pro Tip: Stand back and eyeball your X-pattern before you tighten anything. If it looks lopsided from the side, it’ll pull unevenly once the trailer starts moving.
What Equipment Do You Actually Need?
A solid kit doesn’t need to be complicated, but it does need to hit some minimum specs.
- Four ratchet straps, 1.5 to 2 inches wide, each rated between roughly 1,500 and 3,300 pounds WLL
- Soft loops sized to wrap your frame’s tube diameter without excess slack
- Wheel chocks for at least one wheel, ideally two, to stop pre-tie rolling
- Corner protectors or rubber sleeves anywhere a strap crosses a sharp edge
- D-ring or bolt-on frame anchors if your factory points look undersized
Before every trip, run a quick inspection: check webbing for fraying or UV damage, confirm hooks are fully seated with no bent throats, and look for rust or corrosion on any hardware. Webbing straps handle most ATV hauling fine; chain is overkill and can actually scratch or crush lighter components, so save it for equipment that’s built to take that kind of contact.
How Do You Secure an ATV for Transport, Step by Step?
Loading day comes down to a repeatable sequence. Rush it and you’ll find out on the highway.
- Roll the ATV onto the trailer or truck bed and center it front to back and side to side
- Set wheel chocks against the front and rear of at least one tire, adding blocking if the deck has extra room
- Wrap soft loops around the frame at each of the four points you’ve identified as structurally sound
- Hook a ratchet strap to each soft loop, then run it to the nearest solid trailer anchor at as steep an angle as the geometry allows
- Tighten each strap until the suspension compresses about half an inch. Stop there. Cranking harder can bottom out the shocks or bend a frame mount
- Push and pull on the ATV by hand. You want no more than about an inch of movement in any direction
- Coil and tape or tie off any loose strap tails so they can’t flap or work loose at speed
Pro Tip: Pull over after the first 5 to 10 miles and recheck every strap. Webbing settles and vibration loosens ratchets faster than most people expect, and a two-minute stop beats finding out at 65 mph.
Manufacturer guidance from brands like Can-Am reinforces this same sequence: pick solid points near the frame or axle, tighten with quality straps, and double-check every connection before you pull onto the road.
What Mistakes Wreck an Otherwise Good Tie-Down Job?
The same handful of errors show up again and again, and almost all of them are easy to catch if you know where to look.
- Hooking straps to plastic racks, handlebars, or winch hooks instead of frame points
- Running straps at a low, flat angle instead of closer to 45 degrees
- Using narrow 1 inch webbing rated well below what a full-size ATV actually needs
- Over-tightening until suspension bottoms out, which stresses mounts and cracks plastic
- Under-tightening, which leaves slack that turns into slamming and abrasion over miles of road
While driving, watch for warning signs: a strap that’s gone visibly loose in the mirror, a machine that’s shifted position at a fuel stop, or a rattling sound that wasn’t there when you left. Pull over, retighten, and reset the angle if anything looks off.
Dirty Birdy Powersports’ Take on Getting This Right
We have assisted many customers with vehicle deliveries, and the securement conversation often comes up because getting a brand-new machine home in one piece matters as much as the purchase itself. A strong customer reputation doesn’t come from selling machines at MSRP alone. It comes from riders trusting that the advice attached to that sale is straight, including the unglamorous parts like tie-down technique.
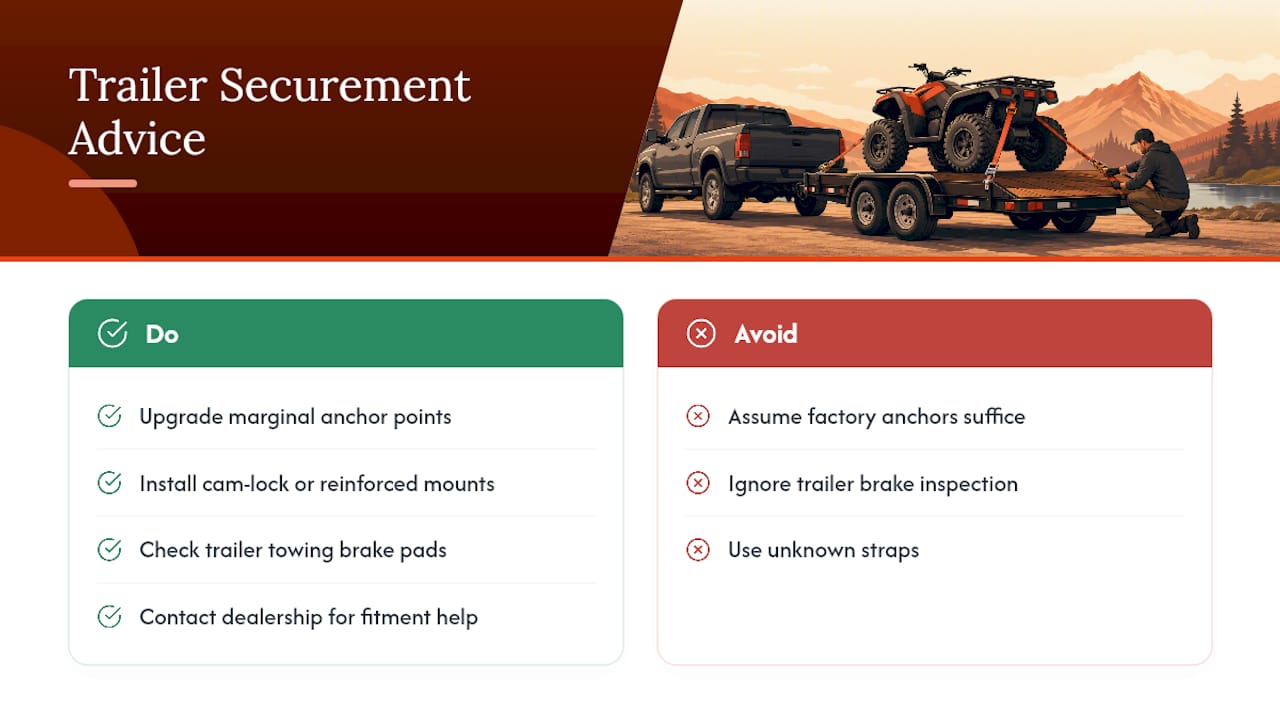
If your factory anchor points feel marginal, a cam lock or reinforced mounting solution is worth the upgrade before your next haul. And if you’re outfitting the ATV itself for trail duty once it’s off the trailer, our Braven Bloodaxe R/T Hybrid radial is a common pairing for owners who want tires that match the way they actually ride. For trailer readiness beyond the ATV itself, a partner resource on towing brake pads is worth a look if your trailer setup hasn’t been inspected recently.
Not sure your current straps or anchors are up to the job? Reach out through our dealership page and we’ll walk you through fitment for your specific model, in person or over the phone, no pressure attached.
— Dirty
Where This Advice Comes From
This guide draws on load-restraint standards from the NSW Load Restraint Guide, strap-rating guidance from Tarps Tiedowns, and manufacturer transport instructions from Can-Am Off-Road.
Sources
- Best tie-down systems for ATV and UTV transport - Truck N Tow
- Understanding load ratings: choosing the right tie-downs for your cargo - Tarps Tiedowns
- Load Restraint Guide 2025
- How to transport an ATV or SxS vehicle - Can-Am Off-Road